Tag Archives: ranger

Inktober Day 29

Standard

89125e0f409ae0f2-weblogo

Inktober Day 29 is another in the Lord of the Rings series I’ve been doing: Here’s Aragorn in his “Strider” guise. I left off shading since I wanted to do that with colour. I was also trying to avoid it being too Viggo, so it’s a cross between him and my childhood image of Aragorn (Michael Praed).

Strider, by Monica Marier 2015

Strider, by Monica Marier 2015

Inktober Day 9

Standard

89125e0f409ae0f2-weblogo

Here’s my Inktober for Day 9. I put a shoutout for ideas, and my friend Barrie requested to see Linus in a school uniform. I’m sure she meant something along the lines of cramming 52-year-old Linus into a Japanese boys school uniform, but I did her one better. Here is a young Linus (about 19) in the official Uniform of the Rangers Union Pre-One student.

He looks like he’s on the way to archery practice, and doesnt’ care if his hair is combed or his jacket is hooked up. He has three leaves on his shoulder indicating that this is his third year as a student (students take 4 years to complete courses). His jacket also Features the triple-leaf emblem of the Rangers Union on his chest. The drawing needs some tweaking, but I like details that I came up with on the fly that add a little more to Linus’s story.

Hope you like it, Barrie.

10_09

Linus Pre-One, by Monica Marier, pen and ink

The Ranger’s Book (An Excerpt)

Standard

I thought it would be a fun April Fool’s Day thing to post an excerpt from the upcoming Tangent Artists Class Handbook, which will be part of our series that includes “The Handbook for Saucy Bards,” and “The Cleric’s Guide to Smiting.” I now present this excerpt from “A Ranger’s Instructional or: How Not to Die Alone in the Woods.” The funny part is that this information is actually useful and we’re not kidding around.

Capture_cover

CHAPER XX

WHAT DO I WIPE WITH?

Let’s not get shy here; it’s a fact of life—even the Majestic Elves and Powerful Wizards have to crap in the woods sometimes. ‘How’ is an age-old question uttered by new Rangers and adventurers alike since time immemorial. You will at some point be confronted with the urge, a bush and little to no guidance. Ignoring the urge is not an option.

The first part is easy, once you overcome your shyness and accept that this is part of the job you took. The key is to be at least 200 feet from where you’re eating or sleeping, and away from your water source. Take your spade, and dig a hole about 6-inches deep and “go” in there (or as close as you can get it). The ground might be rocky or tough or whatever—just do your best. The bottom line is to keep your business away from any scavenging animals to a) hide your presence so your meat won’t be scared away, and b) keep your meat from eating it. You never know if you’re going to have to eat something that may or may not have just eaten your own feces. Best to avoid that option if at all possible. “Never shit where you eat” as my gran used to say.

The second part of this (getting clean) is not always as easy and has led to some hilarious stories through the years that the publishers have forbidden me from elaborating on. NOT wiping is not an option as it can lead to yeast infections, jock itch, and a lot of bad illnesses and rashes (not to mention embarrassing staining you’ll have to explain later). Fortunately, you have a plethora of options open to you if you plan ahead. Don’t assume everything you need will be right by you, because it never will be. TRUST ME.

RAGS: Many first timers will try to prepare for this moment by rooting through mummy’s rag bag for fabric scraps to use. This may seem like a good idea but it’s ultimately doomed to failure. Your supply will never be limitless and little things like illness or too much fiber will usually deplete a well-calculated stock. The flipside being that if you DO plan ahead you will have a lot of extra weight with you and when it’s gone unexpectedly (as always happens) you’ll have to make do with other rags. Everyone will know too. You’ll be the daft bugger walking into a town with no shirt sleeves or socks.

PAPER: Similar to rags but much more practical and comfortable, and one small book, with thin soft pages, can last several days. I highly recommend the unabridged “Miles Reyner’s Handbook for Saucy Bards.” It’s been said that thin paper was our most treasured contribution to peace talks with the Elves and I believe it. Those poor bastards had to do with leaves.

LEAVES: Corn lily, dock, wooly lambs ear, mullein, and other leaves that are large and flat make good wiping leaves. Use them in a stack of three or four, with the vein sides out for added scrubbing power. If you’re passing by a bush take some leaves with you to keep on hand (or to thaw them out if it’s cold out). Plants like mullein and lambs ear are additionally popular because of their velvety fuzz. It’s like being cleaned by an angel’s wing, but it’s not for everyone. Some people’s skin can be irritated by the little white hairs and break out in a bad rash. If you’re not sure, test it out on skin that’s slightly less…er… vital.

MOSS and GRASS: several varieties of moss are good if you use the green spongy side and use a cloth to pat it dry. Drier moss like Old Man’s Beard (which hangs from trees) is a tried and true standby in the wild, and it’s often used by lady-travelers during their “monthly visit” (sorry if that’s indelicate, but I have daughters and a wife and they told me to address this). Cattails are also useful for both purposes.

Grass, if you’re so inclined can be gathered in folded in half to make a “scrub brush” to use accordingly. Just make sure the grass is soft and not the hard knife-edged variety with serrated edges.

HAND: This was Man’s first loo roll if you think about it. It’s also a testament to mankind that we evolved— rather quickly at that—other methods of cleaning ourselves that don’t involve getting poo in our fingernails. This might be considered a last resort, maybe if you’re in a desert or something. Just remember which hand you wipe with and be consistent. And don’t let me shake hands with you. I heard Orcs prefer this method which explains a lot and why I don’t shake hands with Orcs.

ROCKS: A smooth water stone, flat but round with a conical end is good, but it’s not going to be very absorbent, still it’s better than plants if you’re not an expert herbologist.. This is a method preferred by Dwarves, but I’m not positive—I’ve never had the courage to ask one.

SNOW: Want to really wake up on a winter’s morning? Try a handful of snow up your arse. In all seriousness, this is actually the most hygienic and least annoying methods if you’re traveling in winter. This works best with snow that packs nicely, like the kind for snowball or snowmen. Too powdery and your hands get dirty; too wet and it’s suddenly no fun.

IN GENERAL: Make sure to bury your waste and your wipers as best as you can. If the ground isn’t cooperating, build a little cairn over it, anything to keep it out of sight and free to turn back into the earth.

Wash your hands thoroughly with soap and water after every time you go. It helps to have a friend place the soap in your hands so you don’t have to root through your pack with dirty fingers. Also, help eachother out. If you spot some good leaves or stones or whatever, tell your friend too so they won’t be out of luck when it’s their turn.

For added fun, tell the company’s Bard to use pinecones. Tell him that all the great woodsmen use them. It’s hilarious, trust me.

Sharpie Mug Tutorial THAT ACTUALLY WORKS

Standard

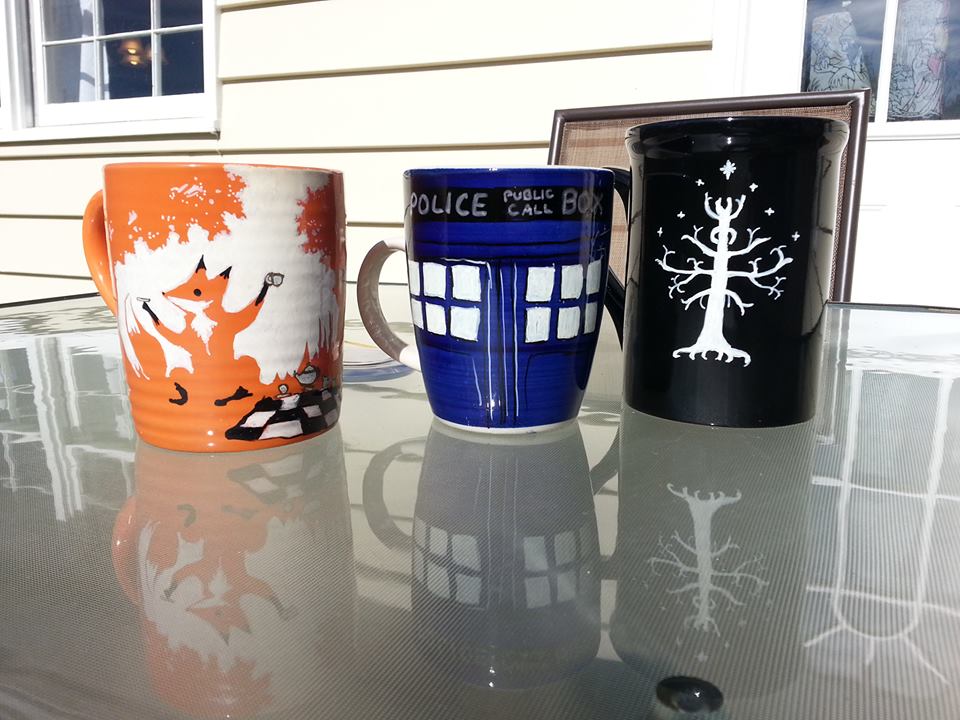
Okay, for those of you who’ve followed me on Facebook, You’ve probably seen a lot of pictures of coffee mugs that I’ve been working on. Like these ones here:

Image

Left is a picture of my daughter’s fox friend, Orange Pekoe; the middle is a TARDIS mug that’s bigger on the inside (I wish!); and lastly a lovely Gondor mug for a cup of second breakfast blend.


I recently discovered on Pinterest how to make personalized mugs that will stand the test of washing up. Well so many of them said to use just regular sharpies and from “conditioning the mugs” with anything from oven baking, to hot water tempering, to a heavy shellac of krylon crystal seal bond was guaranteed to keep the sharpie from washing off. 

WRONG.

Tell that to poor Tom Servo!!


Image

RIP Sir Htom Sirveaux. Baked alcohol-based sharpie with baked on Krylon crystal seal. Came off with a soft sponge in cold water SURPRISINGLY easy.

As you can see regular sharpie has no way to bond to the shiny ceramic so it just slides off like warm butter sliding off a sheet of Lucite. (My chemist friends are going to tear me a new one for that analogy.)

So digging through the hearsay and the tried-and true, I stumbled on the winning combination: OIL-based paint markers and baking.

These guys:

Image

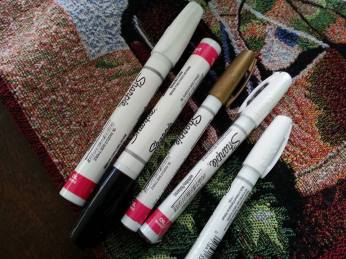
Pictured: Good markers.
Not Pictured: Suck markers.

These are ordinary oil-based paint sharpies that you can get at any craft store. They run about $4 each and come in a fairly limited range of colours. You don’t have to buy sharpie brand but they MUST be oil-based and state that they will bond to glass or porcelain or you’re wasting your time and money.

All you need now is a mug to decorate and an idea!

1. I bought this mug today at Dollar Tree for $1 before taxes. Again, I’m limited by the colours that are there (I had a choice of orange, green, blue and yellow today) so I have to think really hard about what I feel like drawing. Check the mug and get one without any cracks or pitting. We’re going to be baking this guy so teeny problems will turn into bad ovens when baked. Before you start, you should take off all stickers and wash the mug in soap and water, making sure to dry it completely before starting.

Image

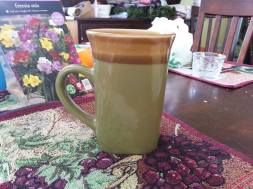
Seriously $1. Too bad everything comes in avocado for $1.


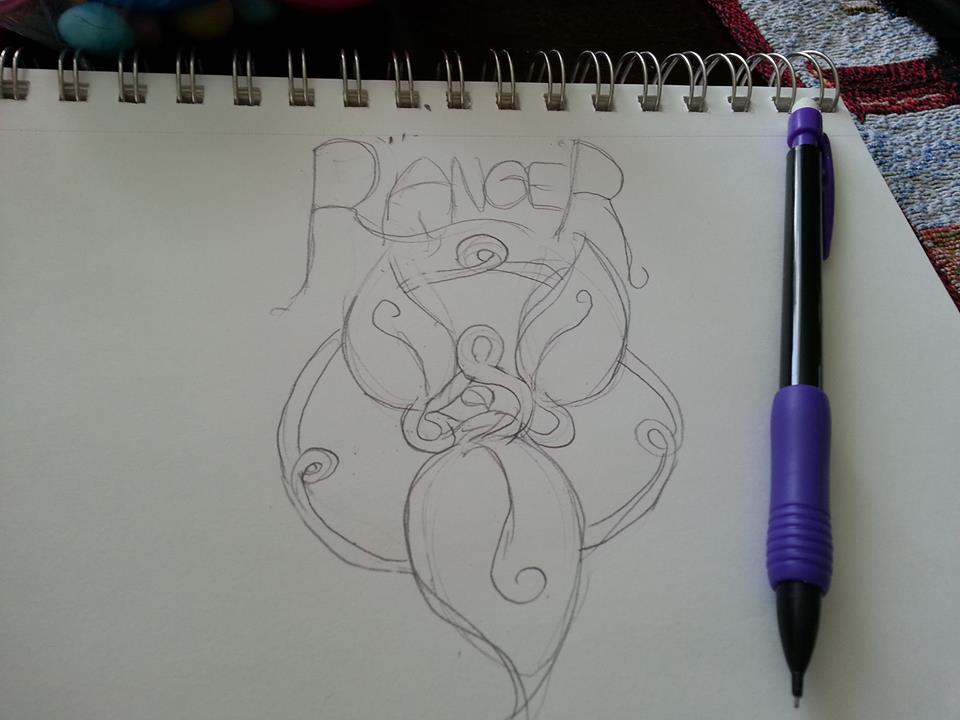
2. Come up with your idea and DRAW IT FIRST ON PAPER.
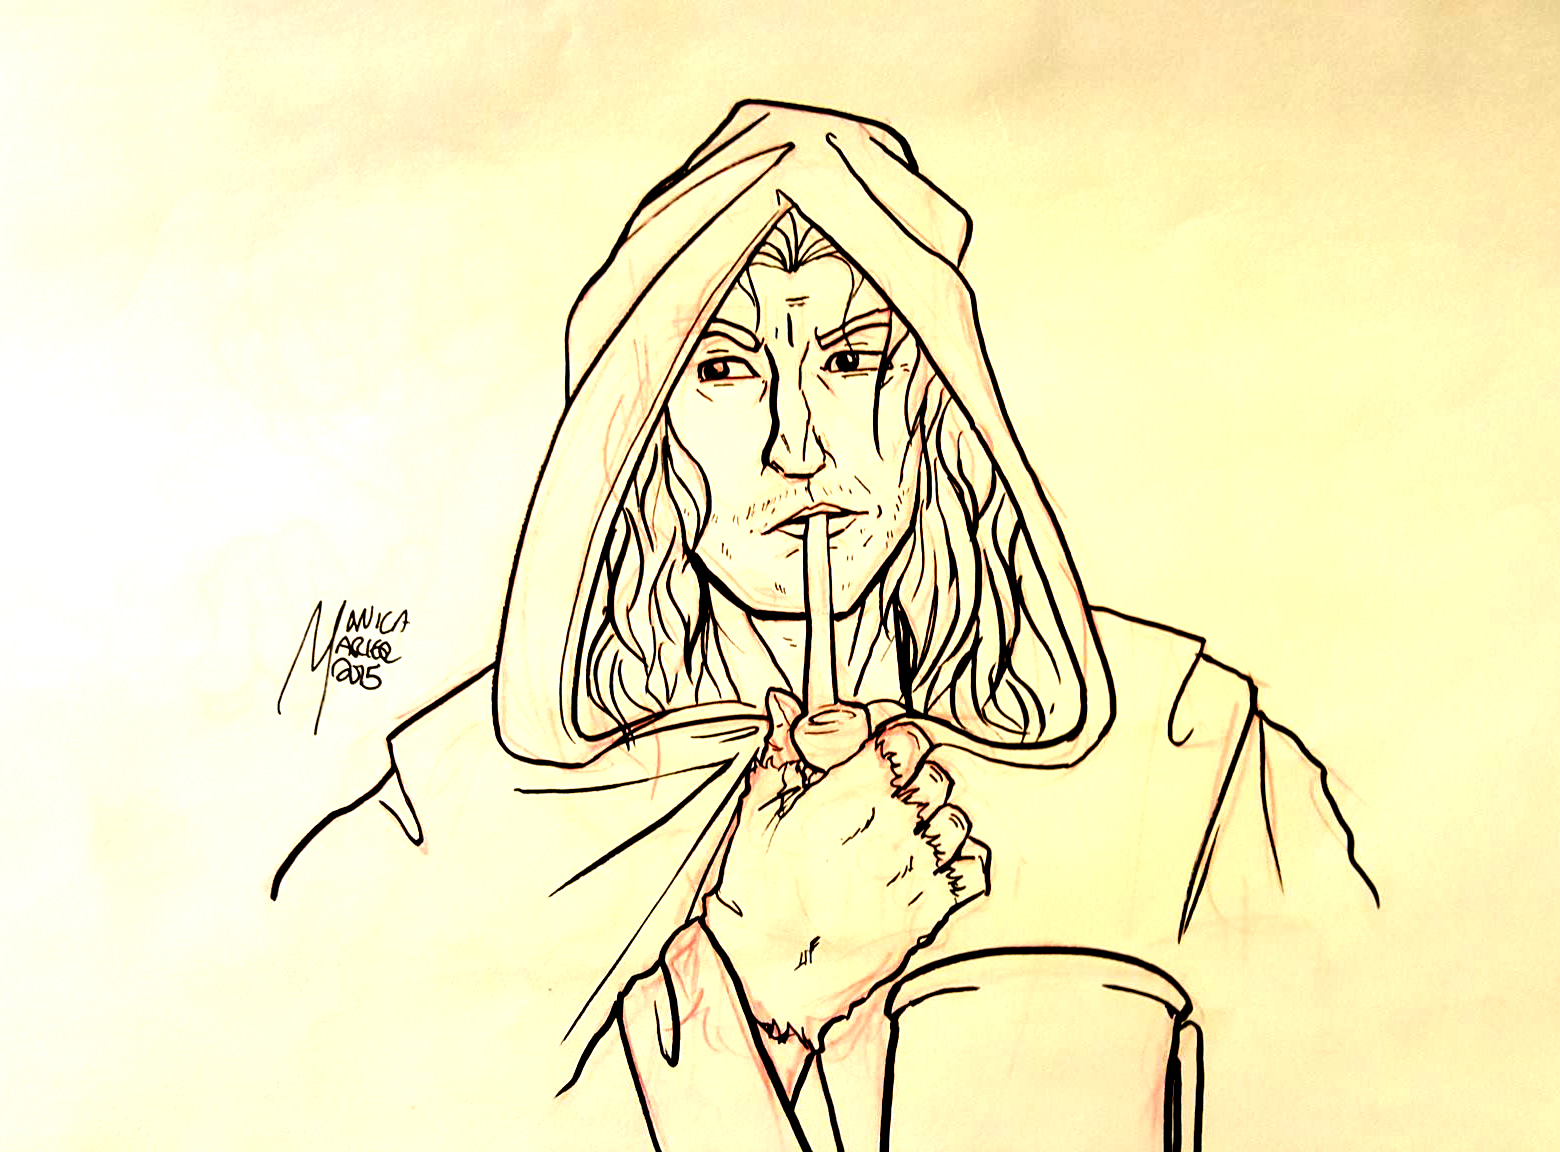
The green and brown got me thinking about rangers so I decided to do a mug for the Rangers Union featuring the triple leaf design that I’ve described in my books.

Image

The Rangers Union Logo is a registered trademark of the Rangers Union LLC ®1480. Unauthorised use or reproduction of the Rangers Union Logo is in direct violation of Imperial Law and any and all violators may face harsh penalties including jail time and/or a fine of up to $12,000 dollars and/or death.

3. Now we’re ready to start on our mug. Oops! I made the right side of the image a little too cramped. Rubbing alcohol to the rescue!  (You can also see what sort of coupon flyers we get out in the country)

Image

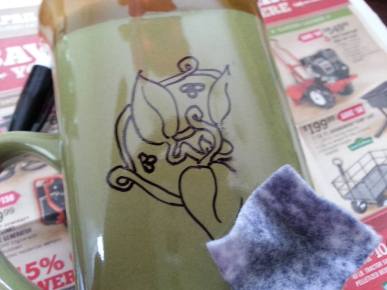
Hey! Chicken wire is on sale at True Value.

A little swipe gets rid of wonky lines. Back to work.

4. There! Lines all done and ready for baking. I think I erased the second “R” about 14 times. 😛 

Image

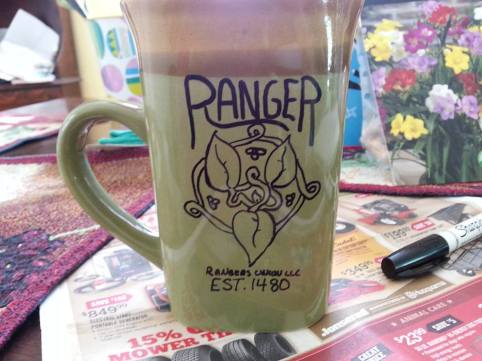
It looks so official!! 😀

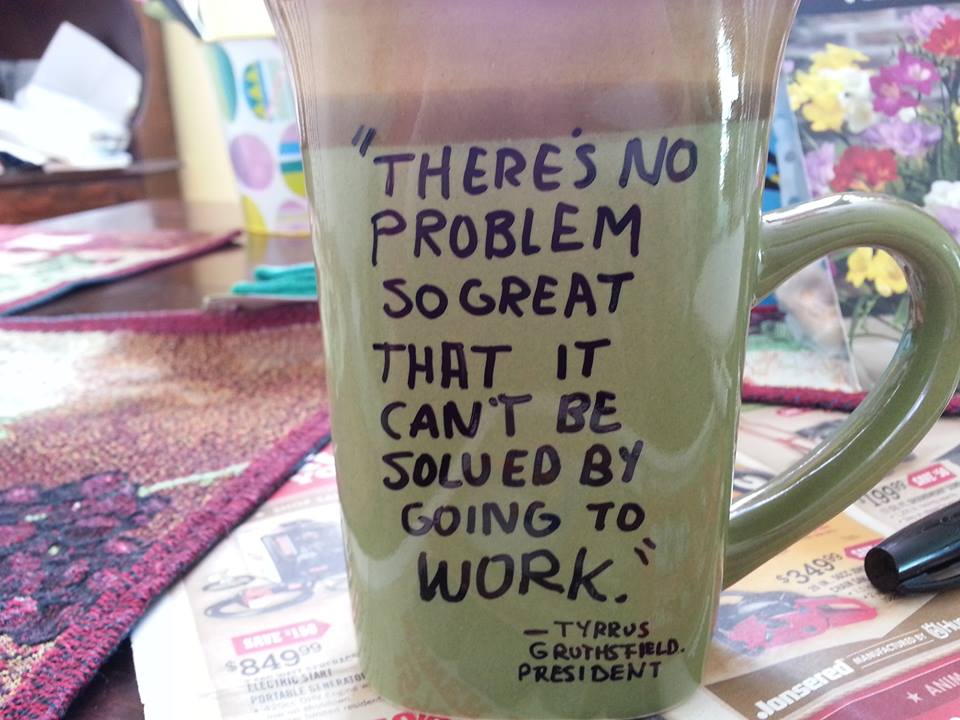
And because I’m being silly, I’ve added a demotivational quote on the back to remind me that as bad as I have it, it could be worse. I could work for Gruthsfield.

Image

Also great quotes by T. Grusthfield: “If the bleeding has stopped, it’s probably nothing,” and “Kneecaps being broken hurts; by comparison, paying dues is rather pleasant.”


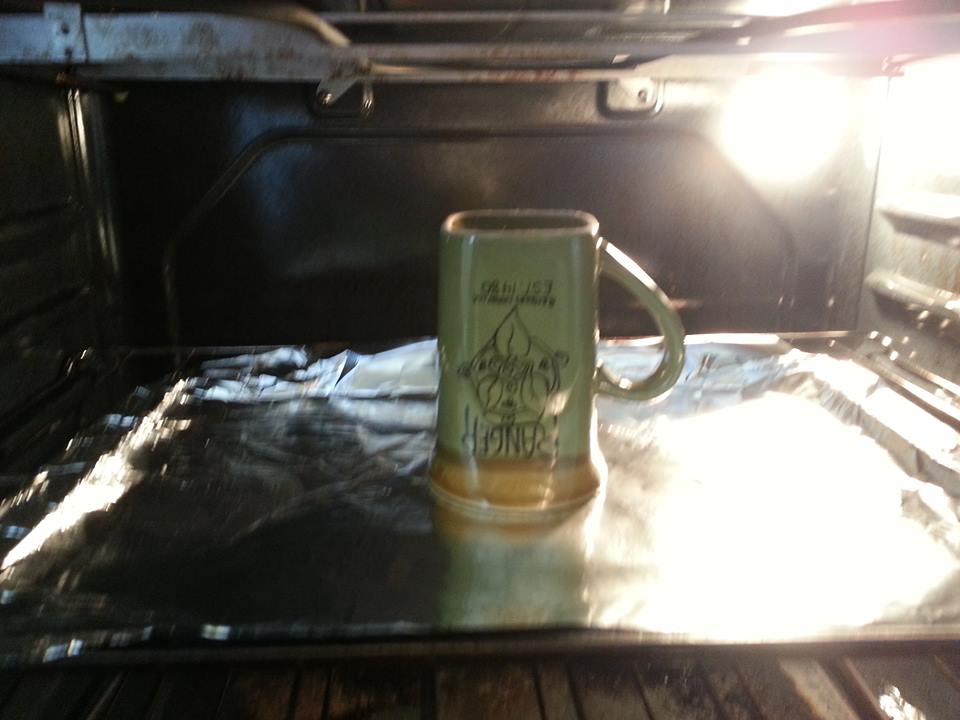
5. Time for baking! Most sites vary on times and temperature, but they all agree on one thing: put your mug in while the oven is still preheating. This prevents temperature shock and further chance that your cheap-o mug might crack during baking. I put the mug upside-down because I think it will prevent browning on the rim, but what do I know? I used foil because I didn’t want any of the mug to get caked on creosote on it from my ancient cookie pan.

Image

Now for the fire gnomes to do their job.

I do my mugs at 425° for 30-35 minutes, checking to see if the mug is turning brown for any reason or catching fire or whatever. It does stink. It’s on par with doing Fimo jewelry or painting your nails for bad odors. Annoying but not lethal or life-altering and it doesn’t make my food taste gross afterwards, thank goodness.


6. After you’ve taken out your mug and allowed it to THOROUGHLY COOL. I recommend you let the design “cure” for 24 hours before washing, to prevent any design damage caused by the paint not cooling thoroughly. After that, light hand washing in warm water should take care of any washing needs from then on. Now, if you’re really brave I’ve been TOLD you can put them in the dishwasher, but I’m hesitant to put my art to the test. I WILL say that the designs are REALLY tough.

I scrubbed at the fox mug with a scrubby sponge in HOT water and the art didn’t budge! You might get some cloudiness with darker designs but any dark stains wipe away easily and I haven’t had any cloudiness after the first wash.

So there you go! Mug designs that you can do yourself at home!

I’m also starting to take commissions on mugs myself, so if you’re interested, please send me a note at beppo_the_monkey[at]yahoo.com ! I’m starting to price them at $20 + shipping, but we’ll see what my research on shipping shows. Hope this helped! Happy baking!

Image


Opa!

 ☆*:.。. o(≧▽≦)oc[_] .。.:*☆